MikoPBX installation in docker
Create the following docker-compose.yml:
services:

  agent:
    init: true
    image: oduist/pbx-agent
    restart: unless-stopped
    command: https://pbx-demo-18.oduist.com
    volumes:
      - srv:/srv
      # To access recordings and upload them to Odoo.
      - ./mikopbx_storage:/storage
    network_mode: host
    environment:
      - TZ=Europe/London
      - LOG_LEVEL=INFO

  mikopbx:
    image: "ghcr.io/mikopbx/mikopbx-x86-64"
    network_mode: "host"
    tty: true
    cap_add:
      - NET_ADMIN
    volumes:
      - ./mikopbx_cf:/cf
      - ./mikopbx_storage:/storage
    environment:
      - PBX_NAME=MikoPBX-in-Docker
      - SSH_PORT=22
      - WEB_PORT=80
      - WEB_HTTPS_PORT=443
      - ID_WWW_USER=${ID_WWW_USER}
      - ID_WWW_GROUP=${ID_WWW_GROUP}
Save the contents into a file named docker-compose.yml, make the necessary adjustments, and launch MikoPBX using the command:
export ID_WWW_USER=$(id -u www-user)
export ID_WWW_GROUP=$(id -g www-user)

docker-compose up
Now visit the IP address printed on the console:
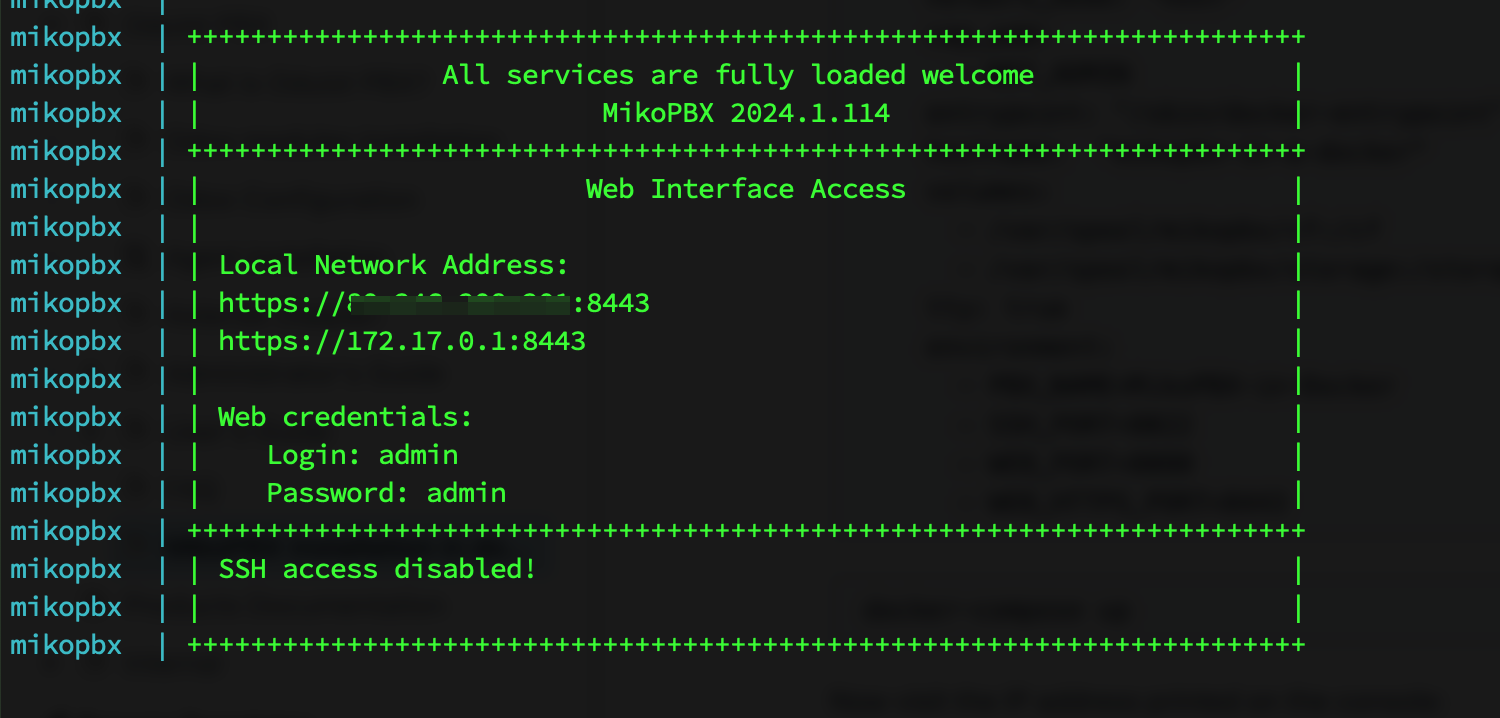
Set a new admin password and enjoy!